I thought I’d post a few pictures of a recent DIY home project that was an economical solution to a big problem. We had serious water damage to our already hideous popcorn ceiling. Yet we didn’t have the time or money to fix the entire ceiling and knew just patching it would result in an ugly popcorn ceiling with an ugly patch right in the middle of out living room. What to do?

When my Dad suggested we kill two birds with one stone by adding a light fixture with a medallion to cover the problem, I discovered that a 36 inch medallion would not be cheap.
As we live in a historical maritime community I am always trying to add a bit of character to our 80’s condo. I’d been looking for the right place to add a compass rose feature. Ah ha! This was it.
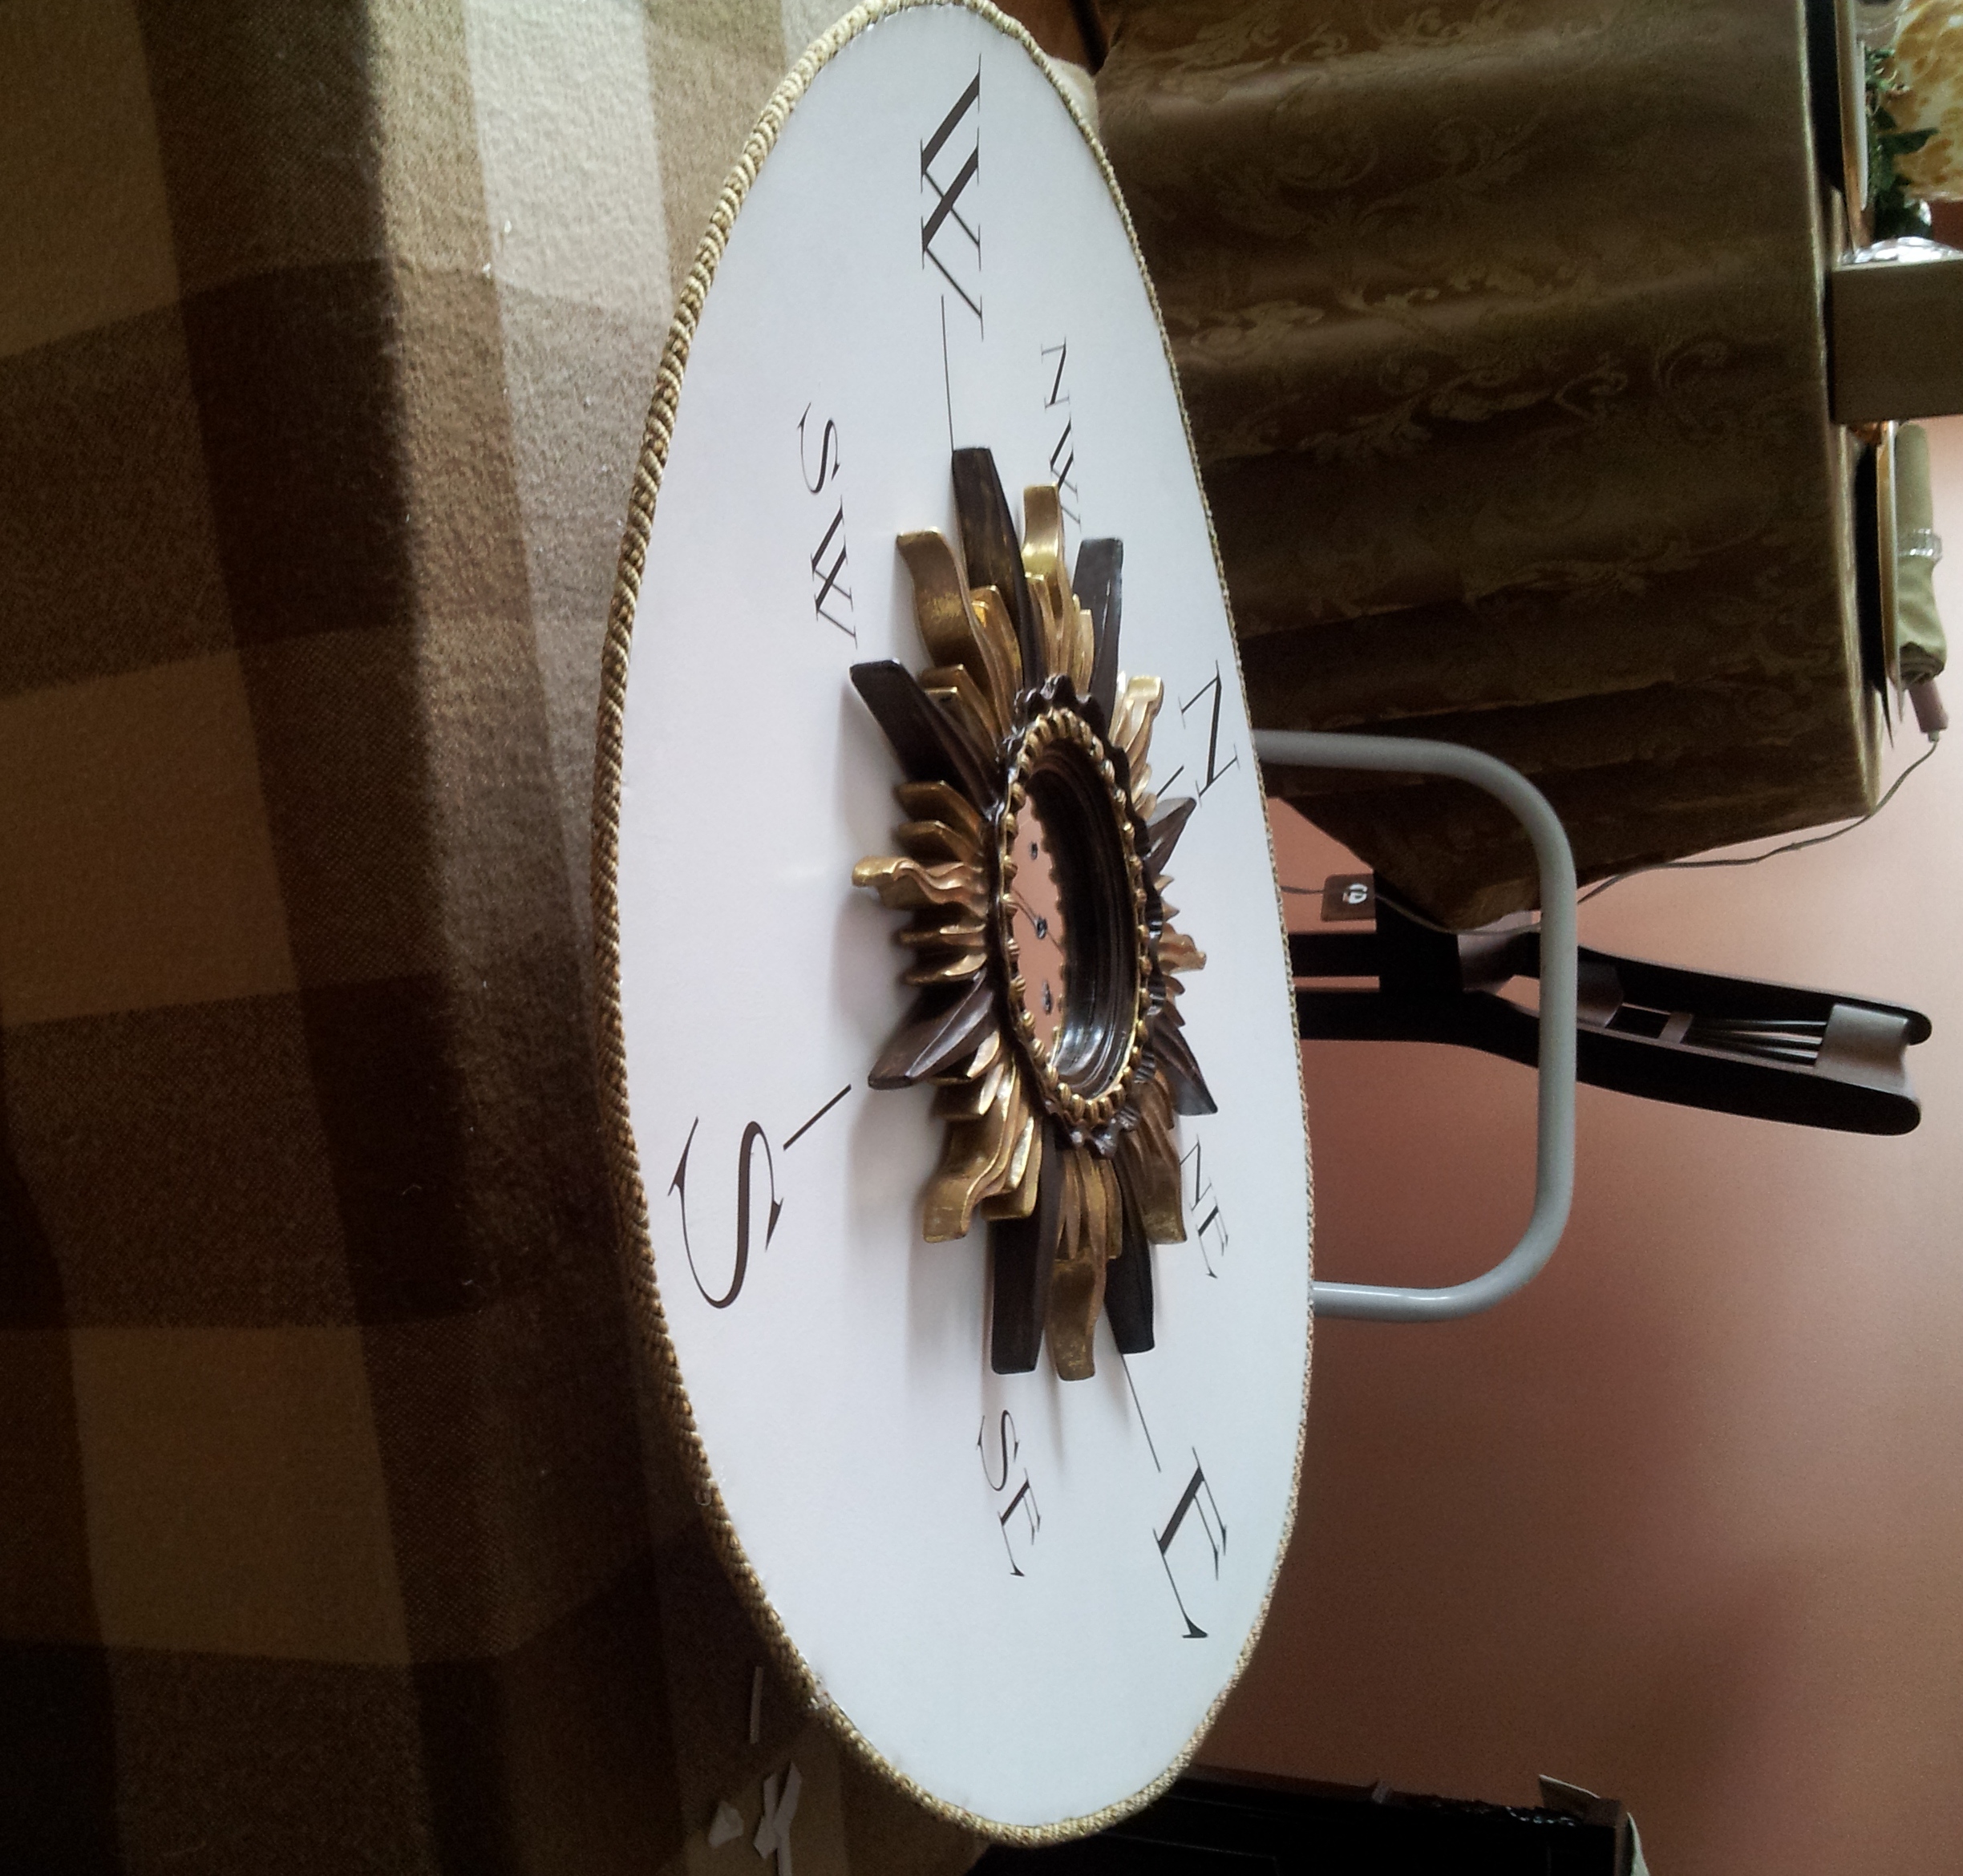
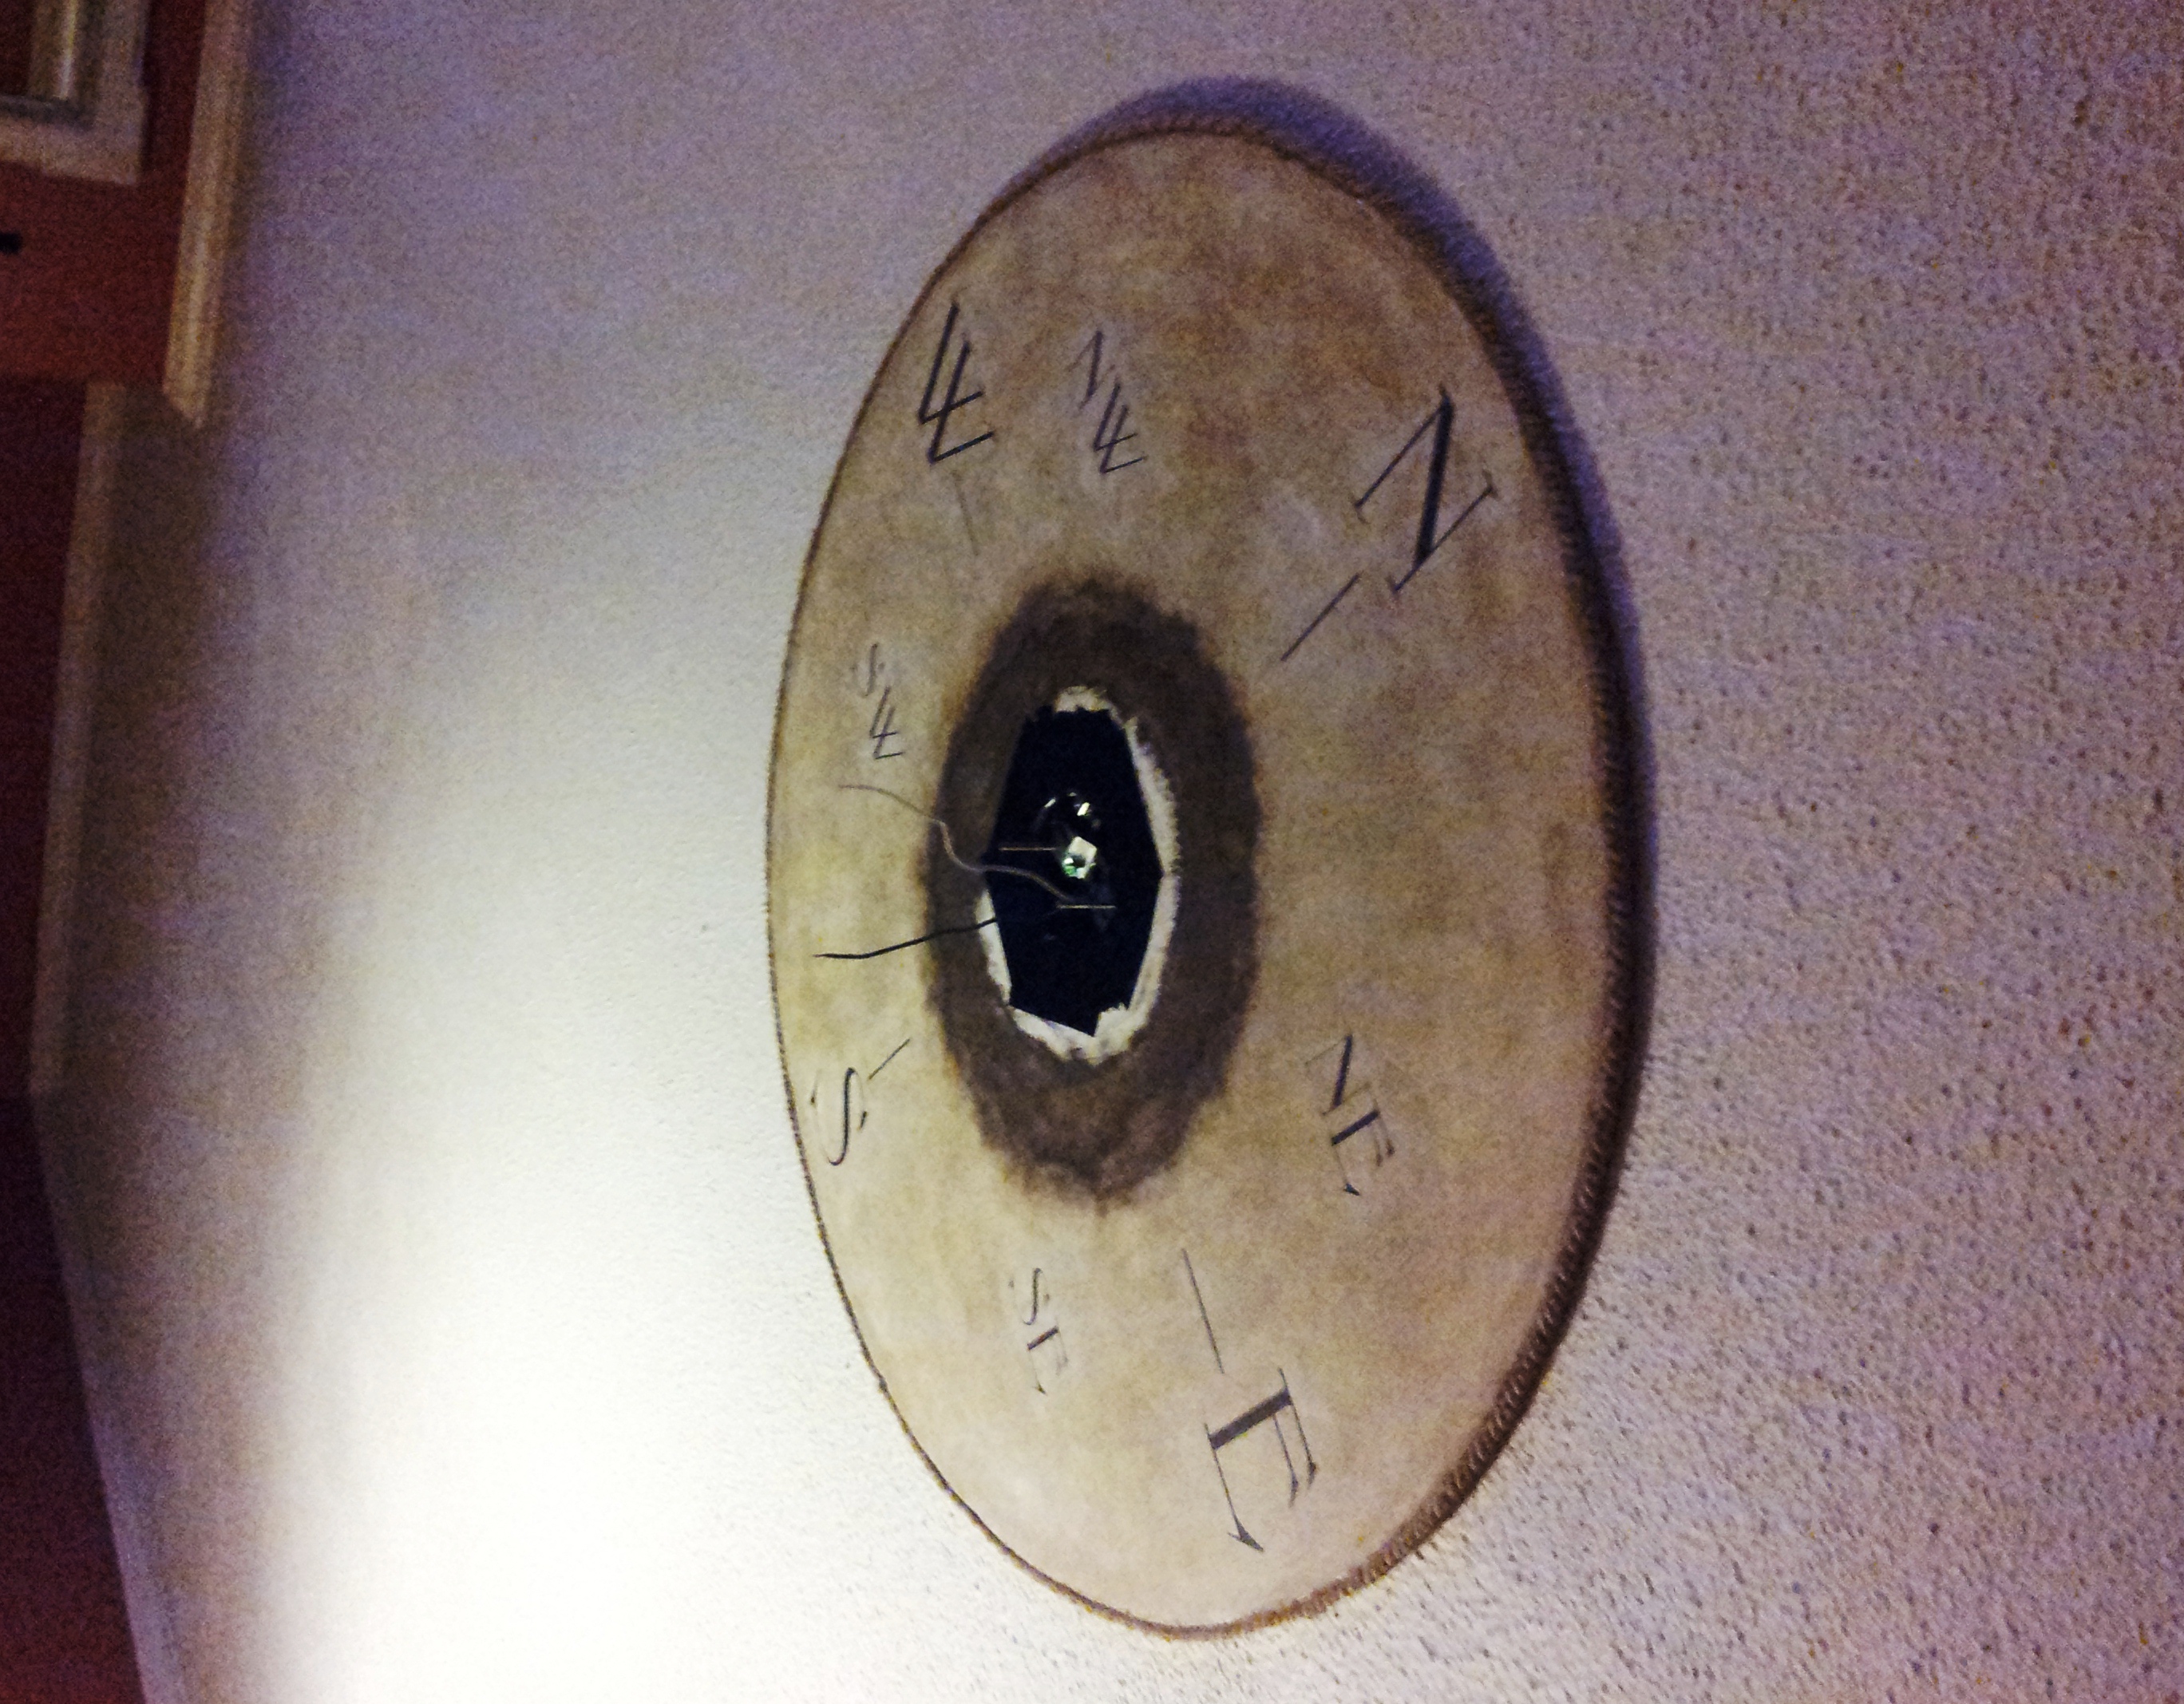
I found a sunburst mirror on eBay for $17 that I could paint and adapt, as well as a lighting fixture for $30. Then I ordered vinyl lettering from a company that I have used many times before. It took the longest time to figure out what we could mount to the ceiling that would not add a lot of weight to the piece. I didn’t want to buy thin plywood since I only planned to use a small piece. I finally settled on a $10 sheet of foam core from the local crafts store that we could cut to size. Pictured here you can see I have already painted the shafts of the dial so they stand out as N-S-E-W, and the actual compass laid out on the mirror so I could figure out where True North was in our living room.

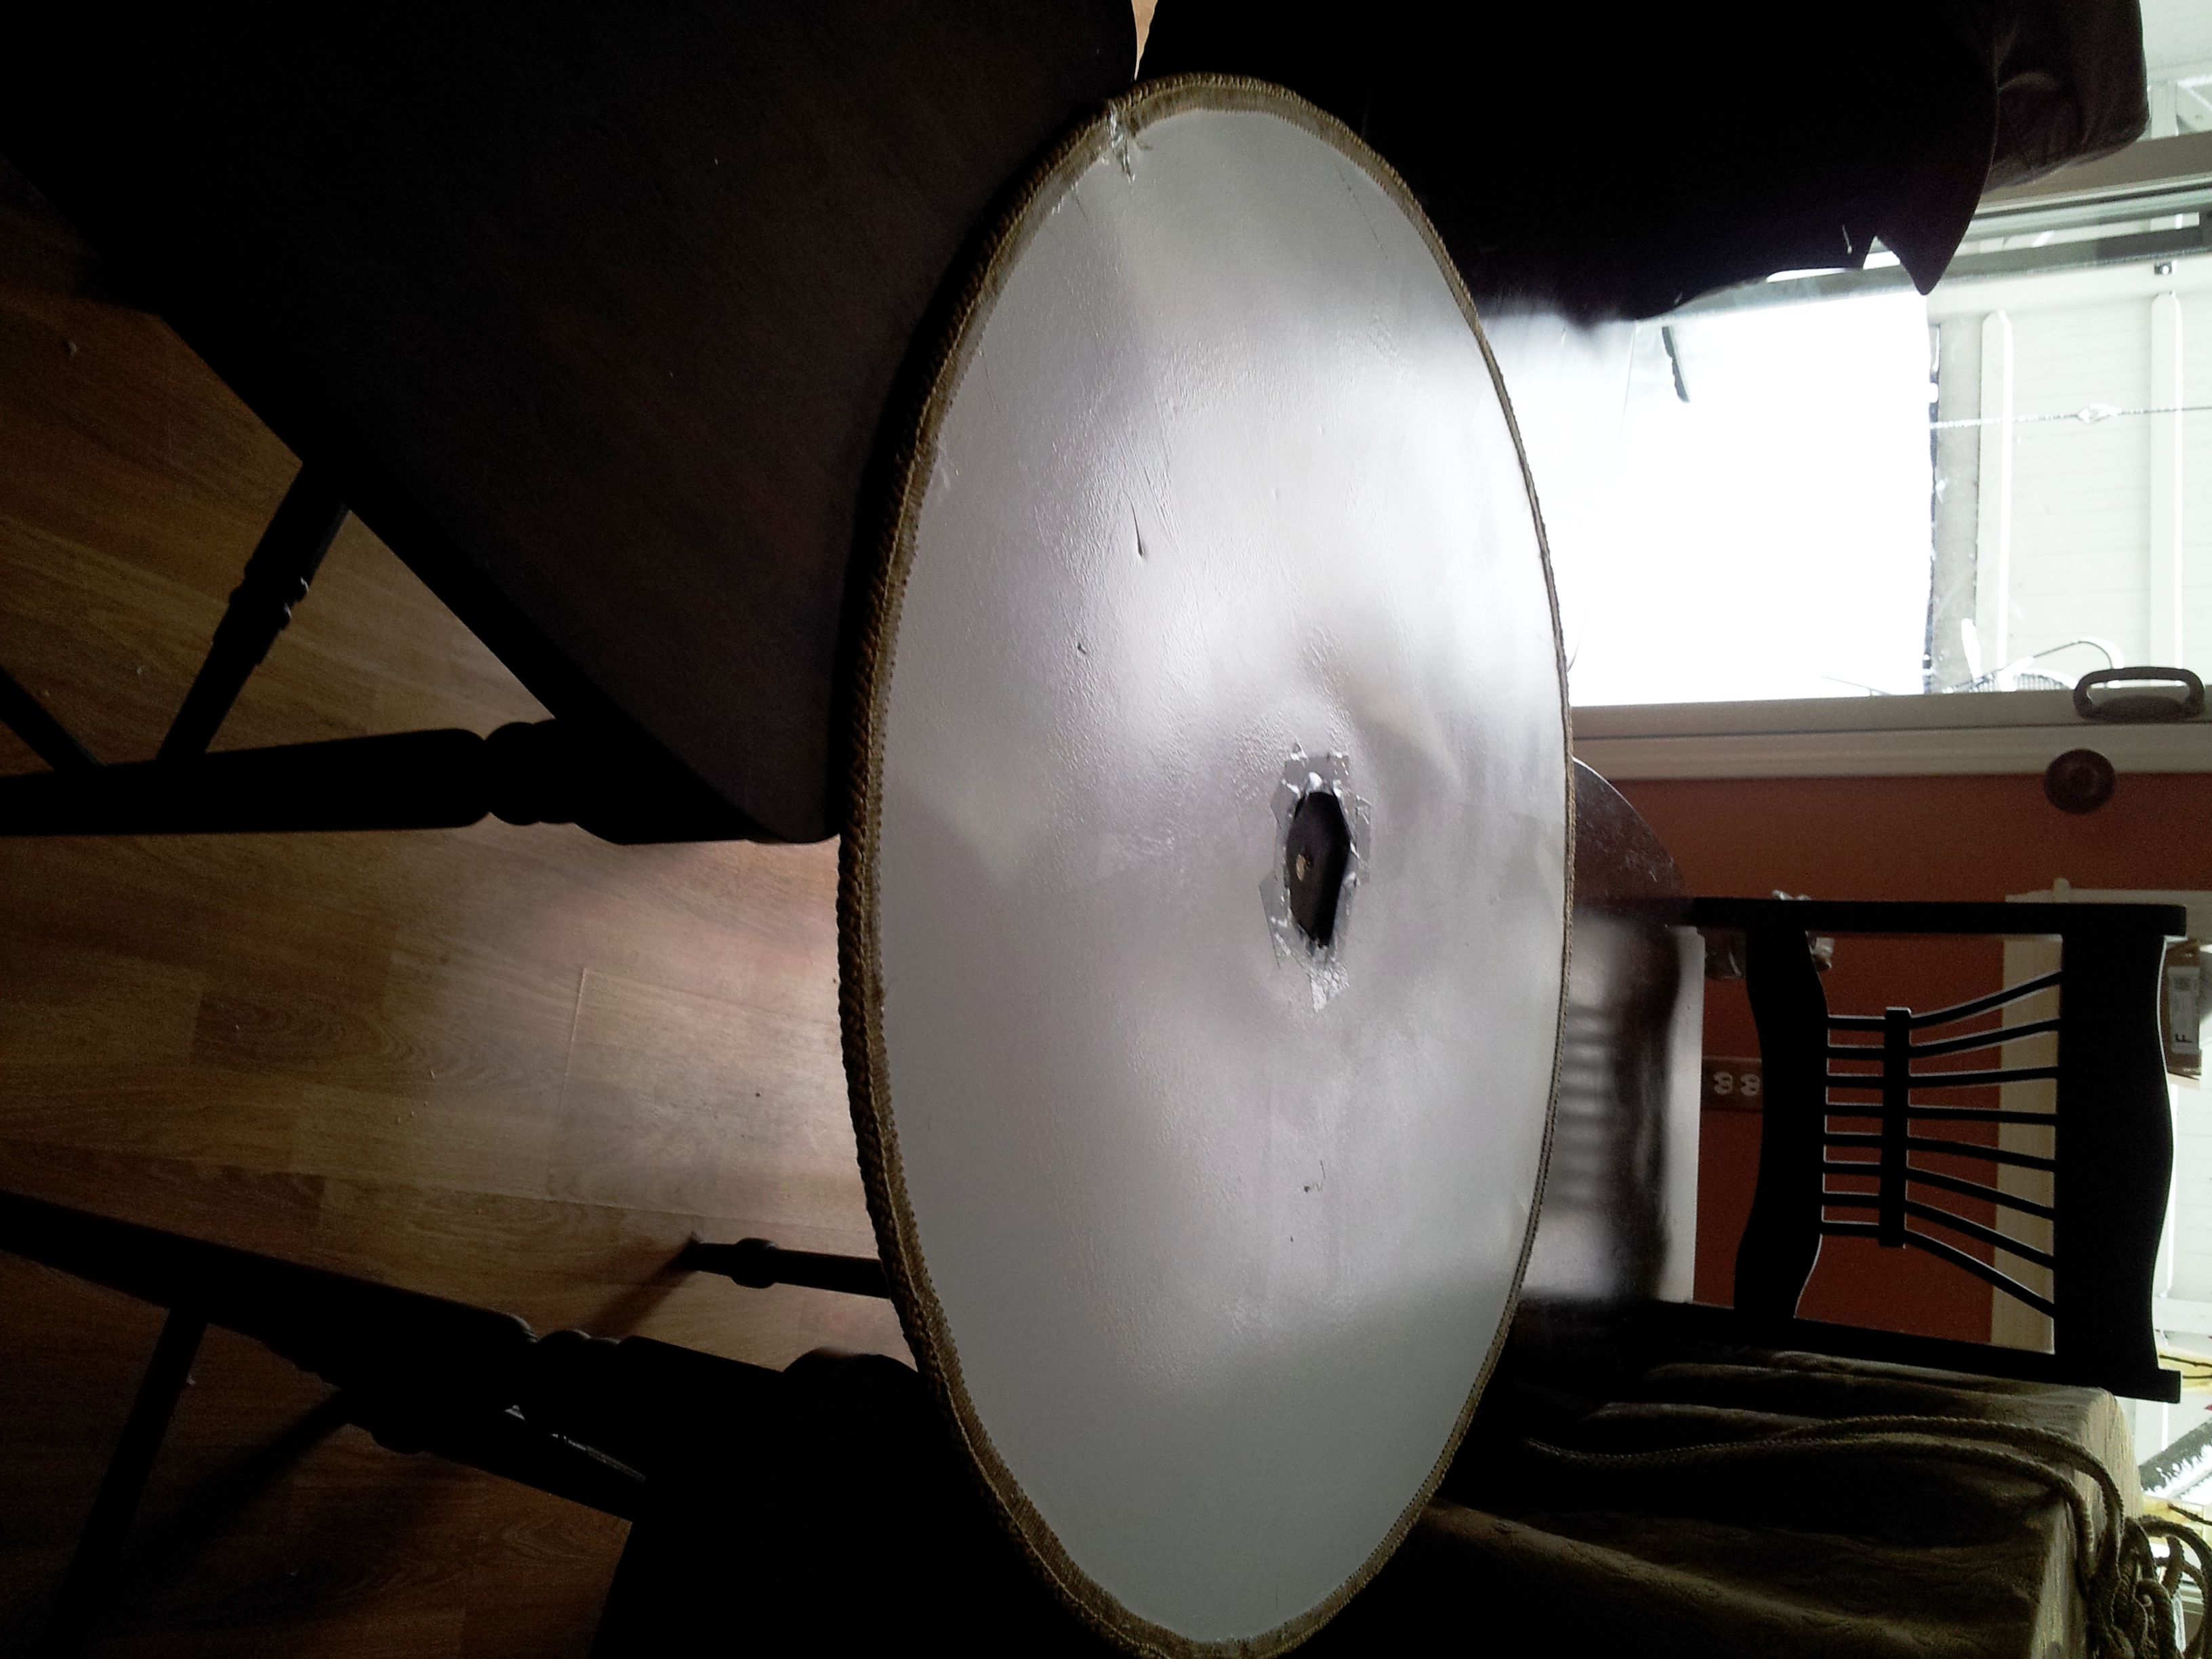
My husband cut the foam core for me in t 36″ diameter and I painted it. I finished the edges by hot gluing cording that I had found at my local Thrift Shop for about $4.00 in hope that I would find a use for it! I think the cord echos the nautical theme without being too literal.
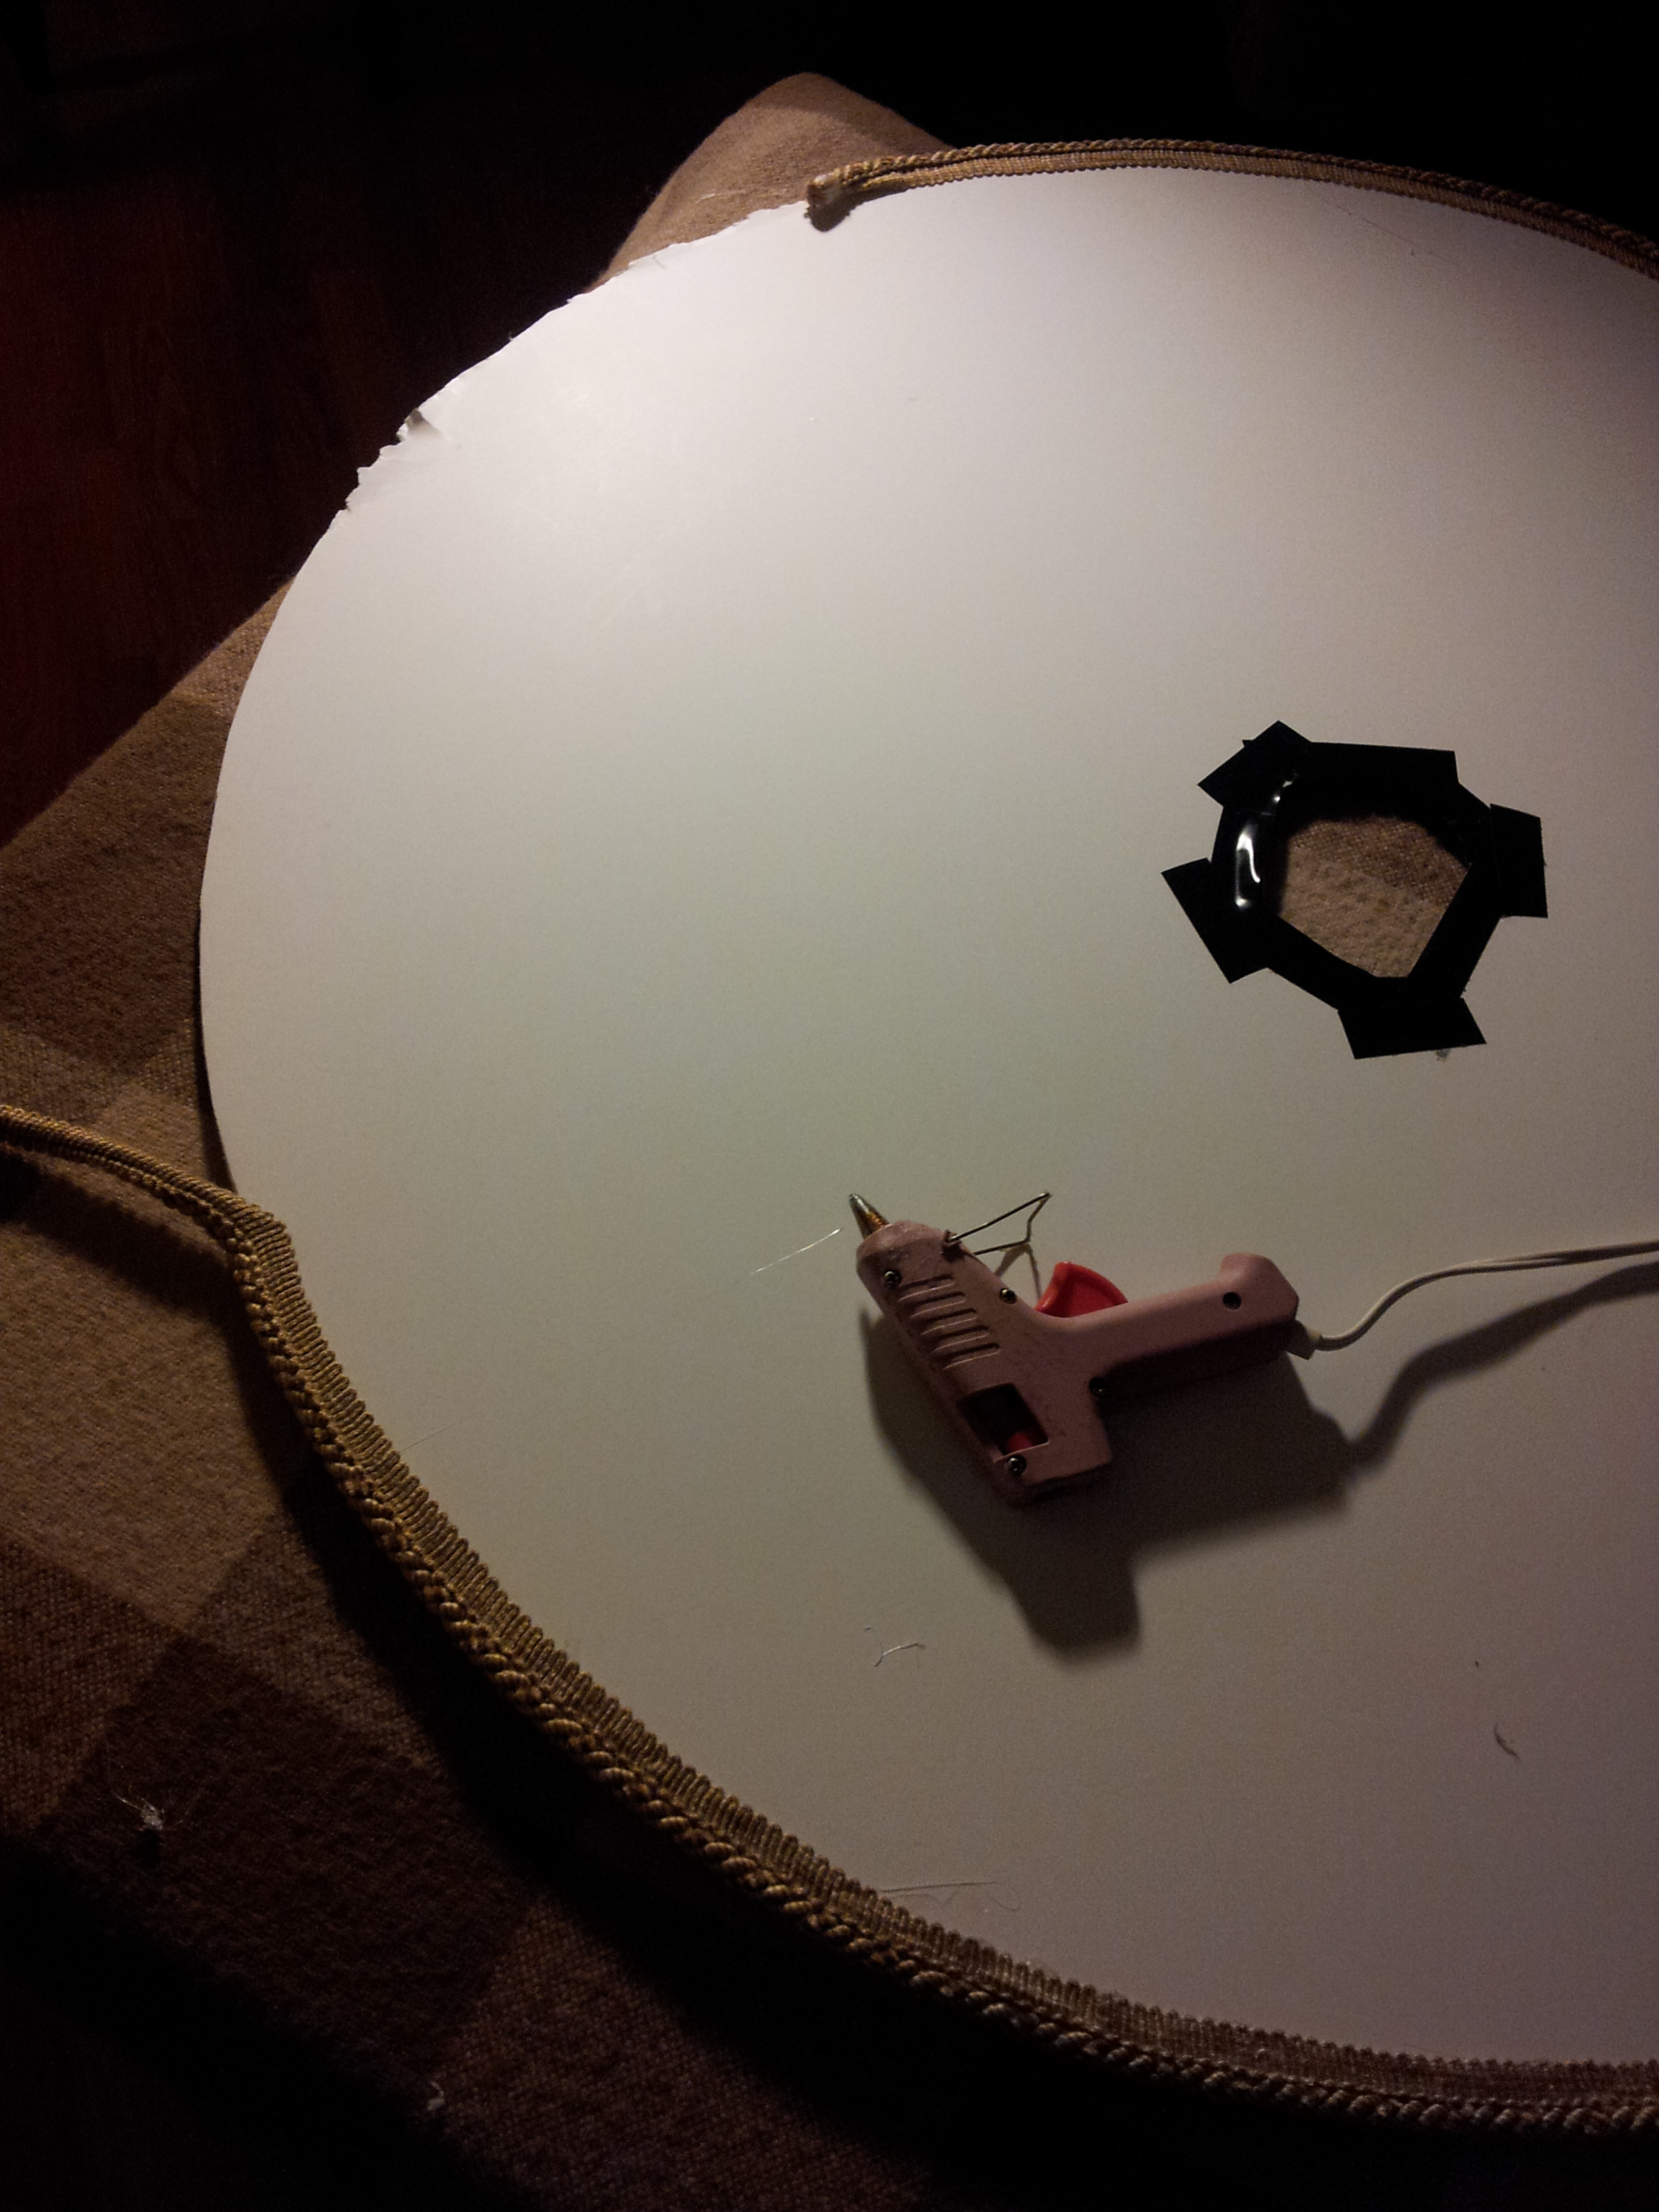
I have two brothers in the fire department, so I can’t help but remember safety as their warnings always echo in my mind. I added rubberize electric tape to the edges that would be anywhere near the electrical juncture box. I actually layered a LOT more than this as you will see later. This is a very IMPORTANT step so don’t use anything other than electrical tape.
I rubbed on the vinyl letter transfers. Be very CAREFUL not to press down on the foam core, or you will leave dents in it. However, after I let it dry over night I woke up to a huge disappointment!
As the paint shrunk, it curled in the direction of the side that had been painted. So I painted tha backside this time, and set it hanging between chairs to dry in hope that gravity would work in my favor this time.
It DID – but I still wasn’t happy.

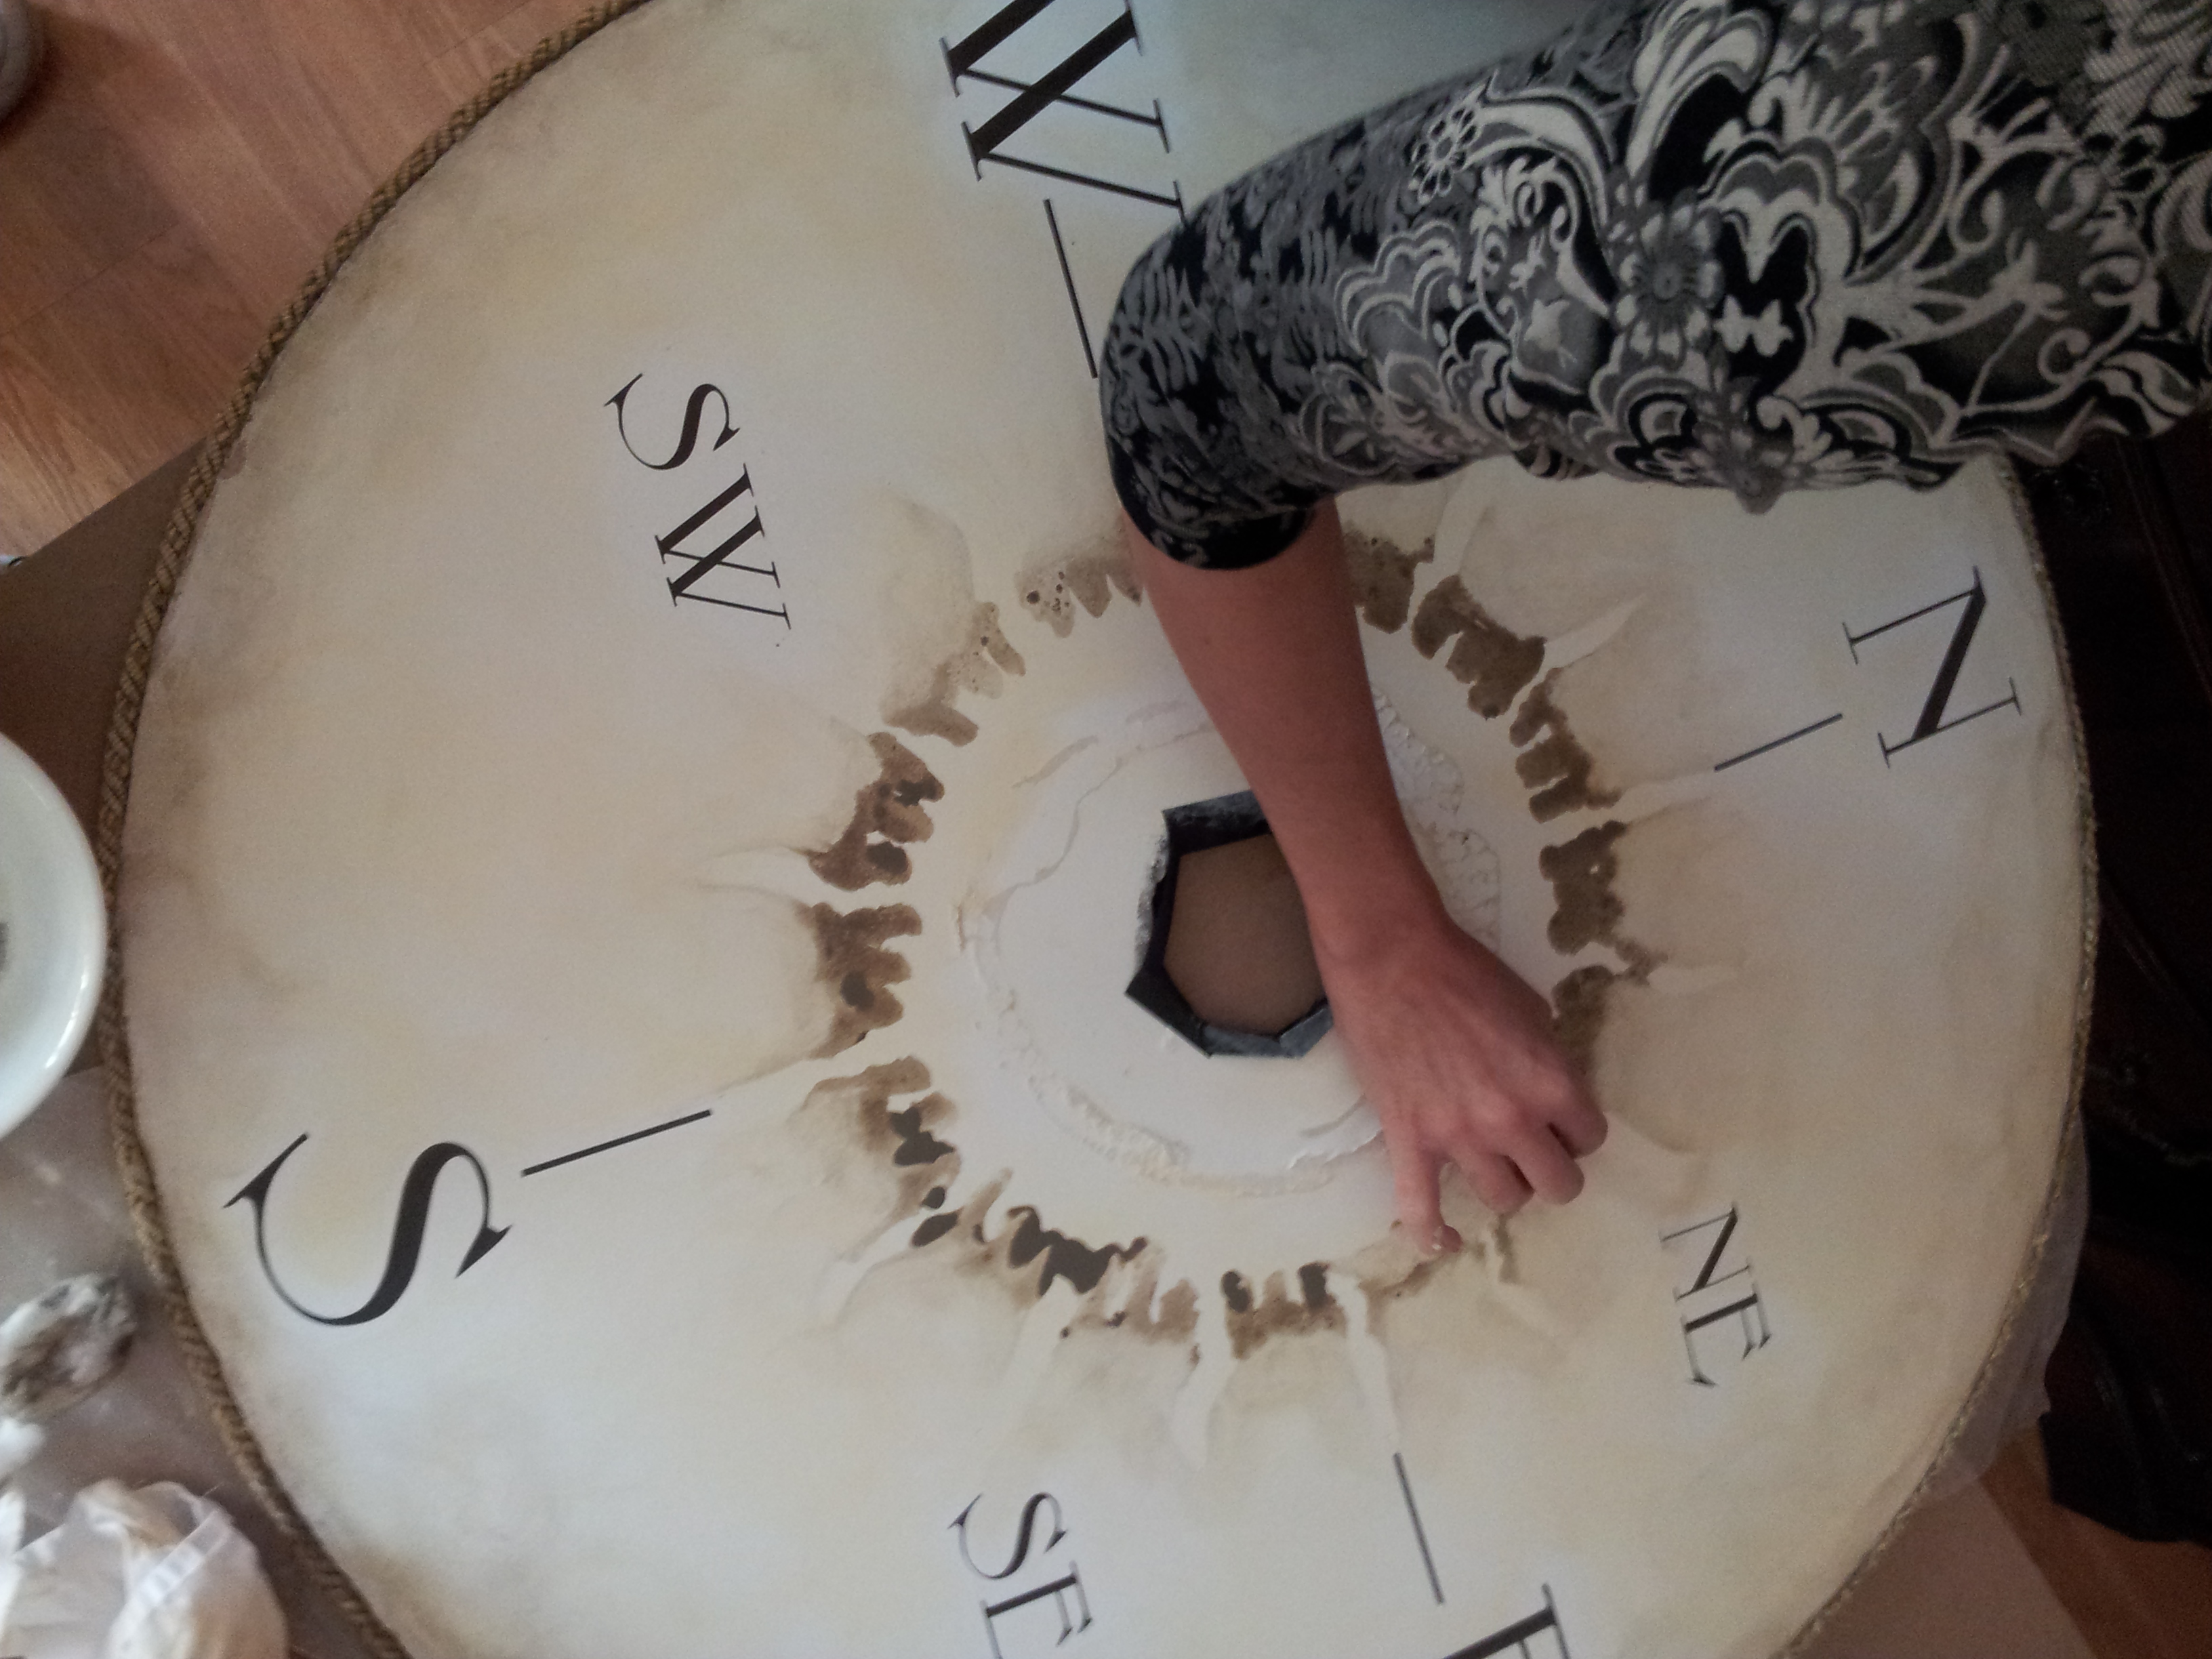
After deciding it was too clean white looking I really regreted my impatiance in adhering the lettering. I wanted the dial to look like I an antique I had re-purposed.
So I broke out some left over paint and went to town! As I did the faux treatment I had to keep wiping the paint off the lettering with a Q-tip and Windex. I was determined to salvage the project and not have to start all over again.
Getting there…

Remember to add electrical tape to ANYTHING that even comes close to the juncture box.


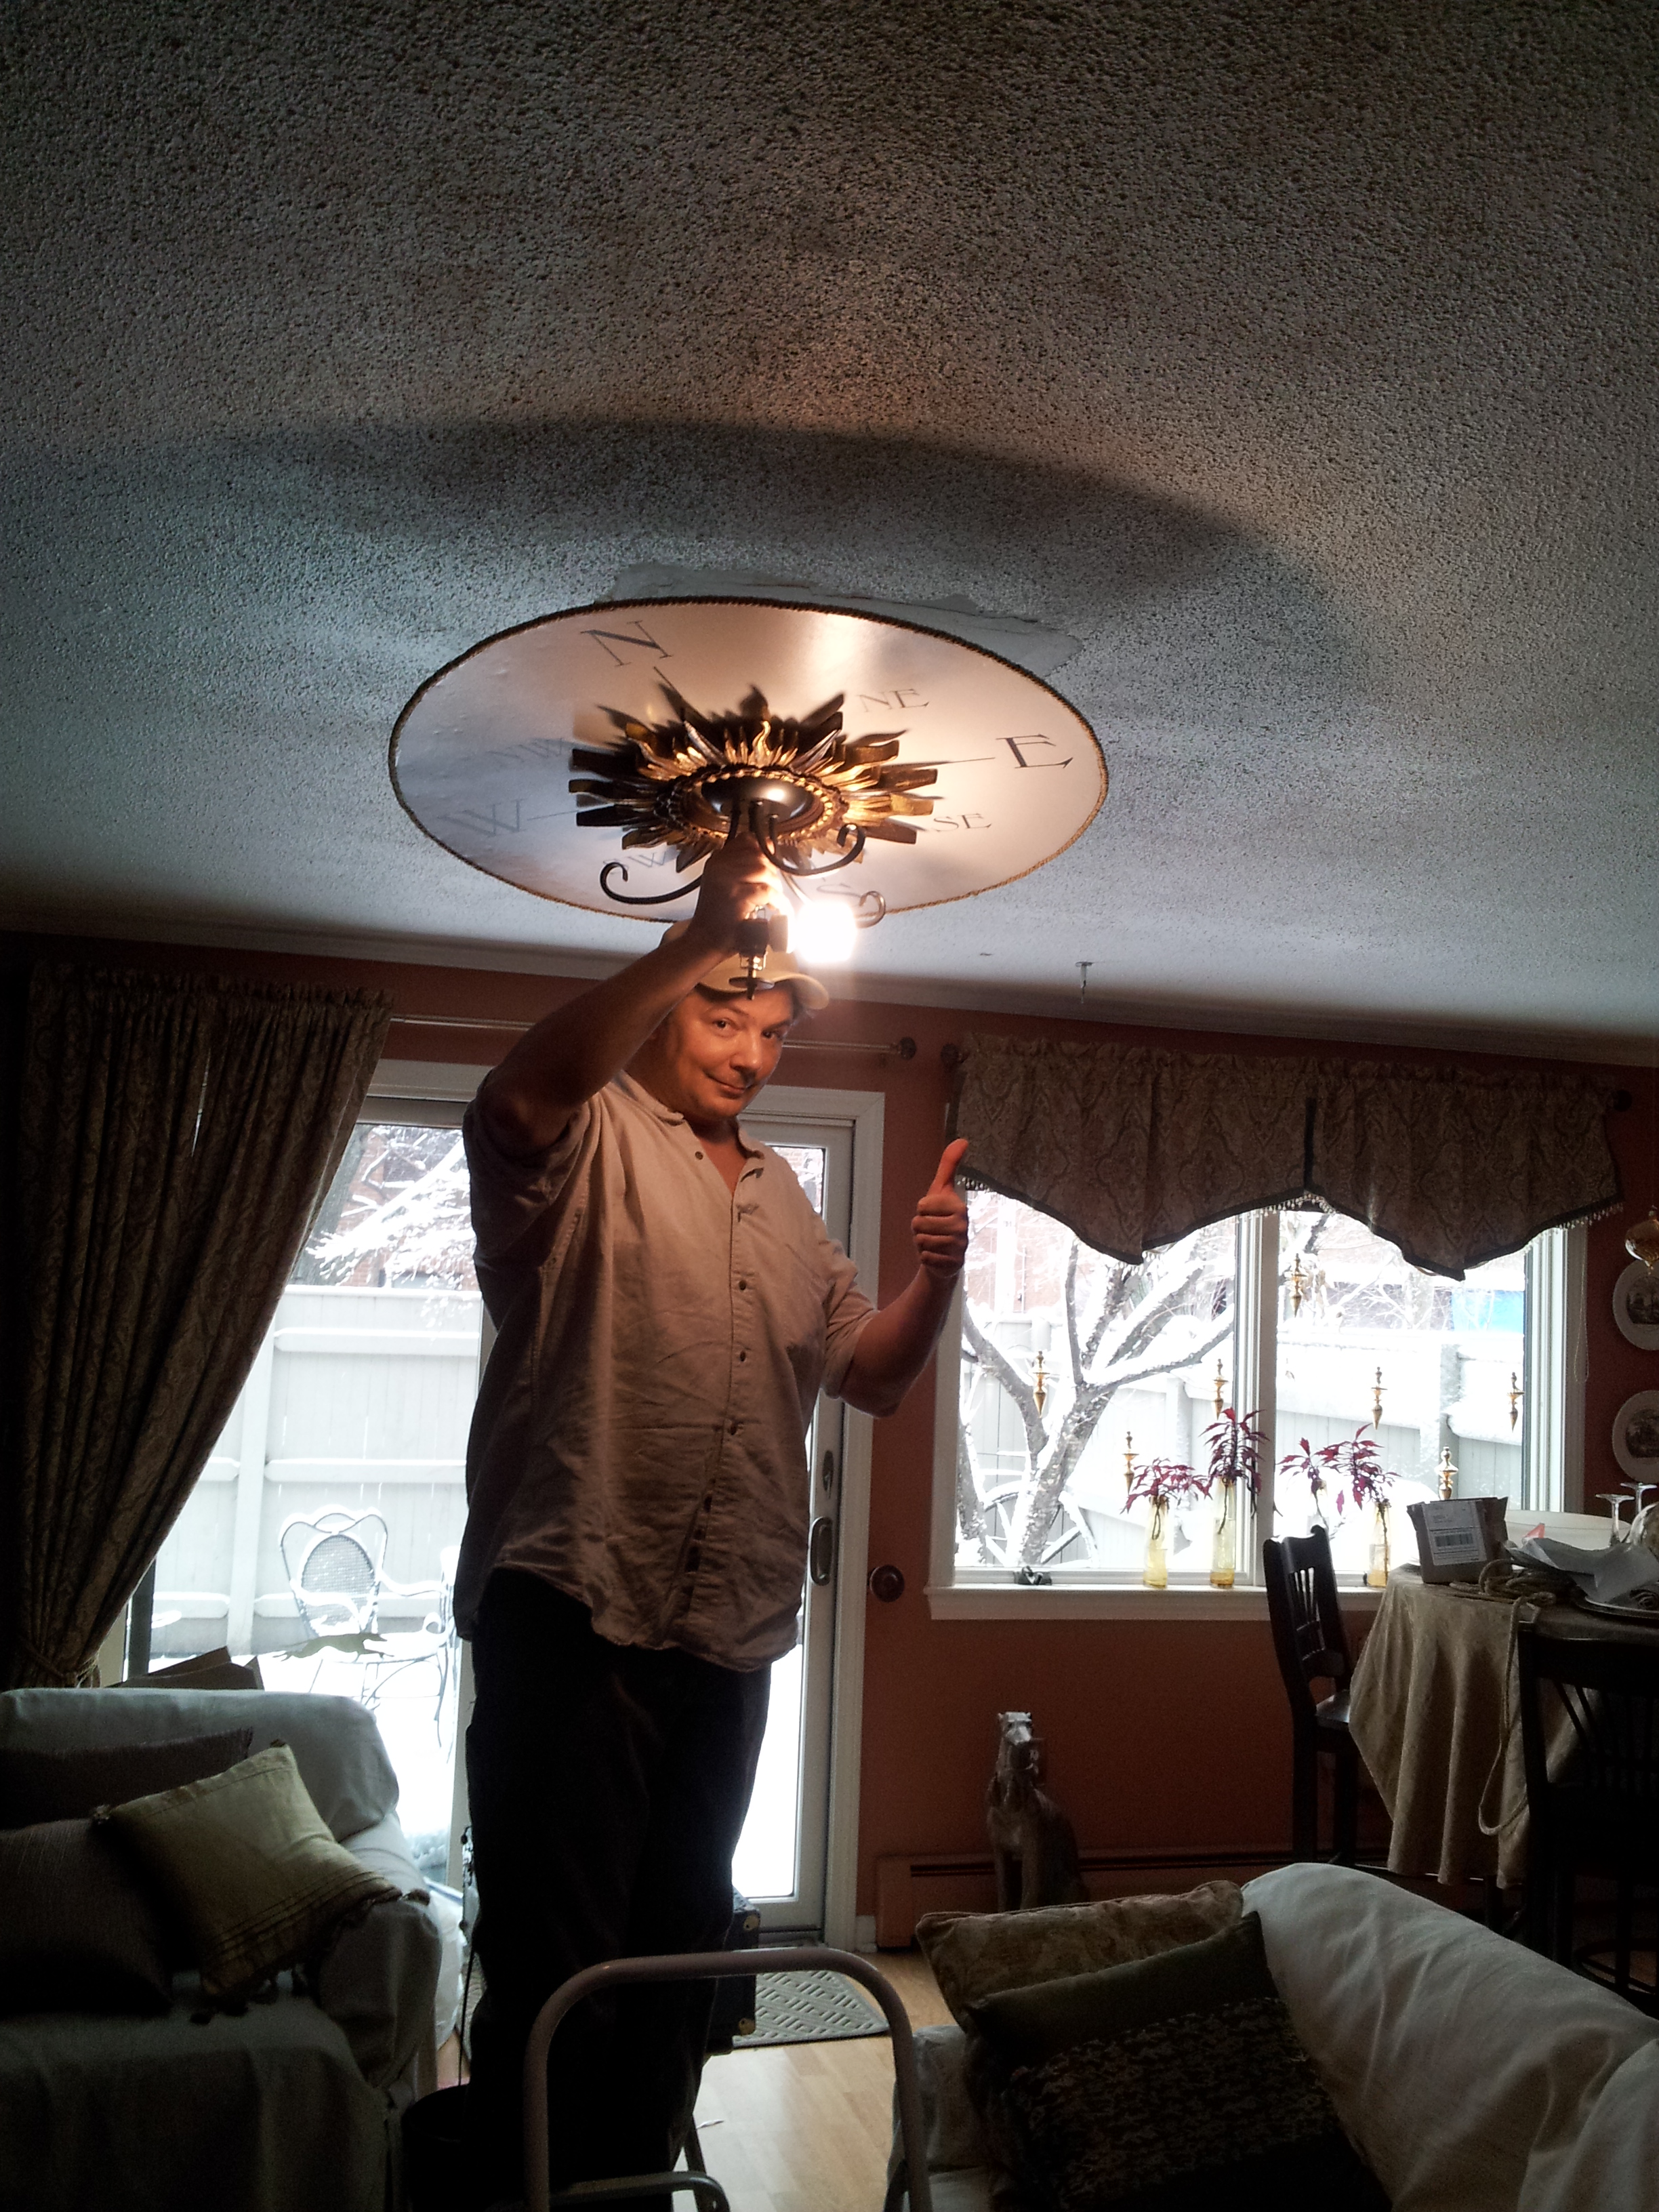
This is were I really needed my hubby’s help. Tall guys come in really handy! Especially tall-guys who are happy to work at yer side in DIY projects! Since the foam core is super light, we were able to hot glue the madallion to the ceiling. Yes! I made sure to re-check the directions with my real compass.
Checking the switch with Dann. Nice work mann o’ mine!
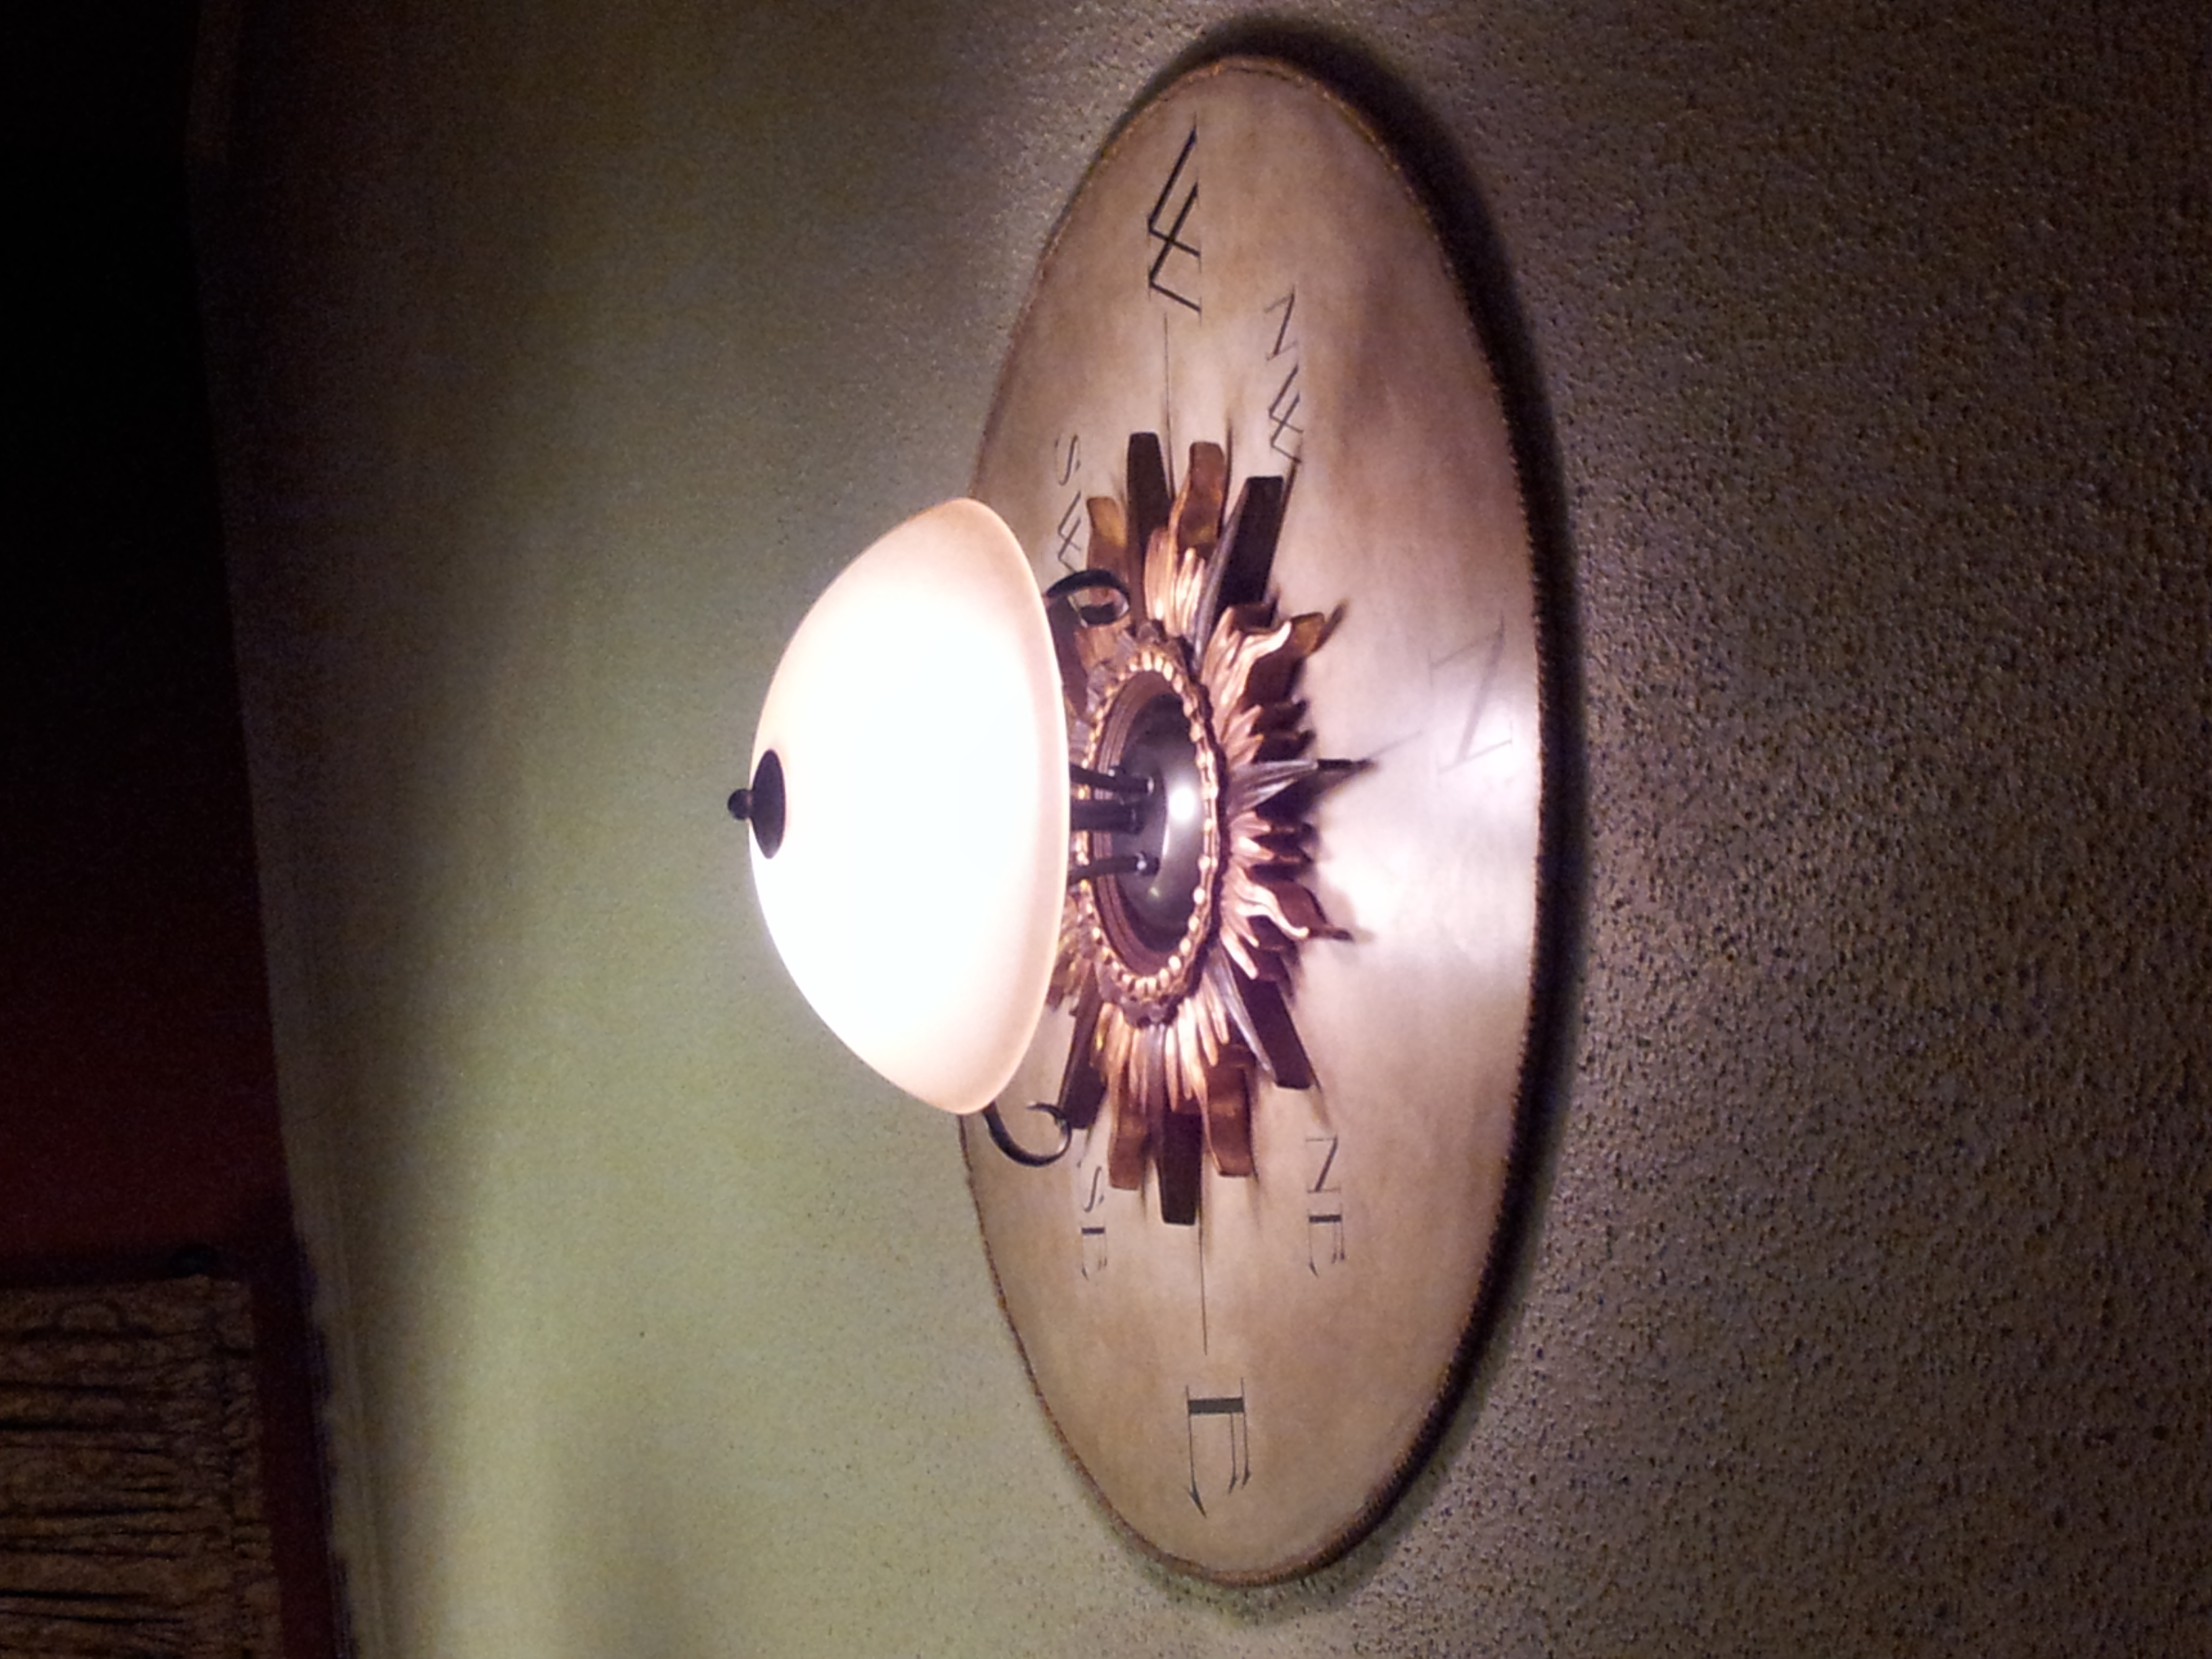
The entire project cost about $80 + a little sweat equity!
Now I am never lost when I’m at home! ; )
My True North

Gorgeous, Darlin’! Was my privilege to see your vision come to light. (So to speak.)
Couldn’t have done it without YOU!
(But can we PLEASE buy stuff off the shelf, here and there?)
That is turning into your mantra. : )
Brilliant!
Thanks Dick. It’s fun to see what you can come up with when the budget is limited.
I love it….thanks for sharing every step of the project…very cool.
My pleasure! Thanks for taking time to comment. : )
You are verywelcome. I find I need to see those steps so I can avoid problems when I look at DIY posts.
I love this! Nice job:)
Thanks. I got frustrating in the middle, but totally worth the work.
Pingback: DIY Closet Makeover (We created organization with a sitting area too!) | Saturday Socks
Now that’s creativity & determination! Nice work.
lol We were determined alright! Thanks : )
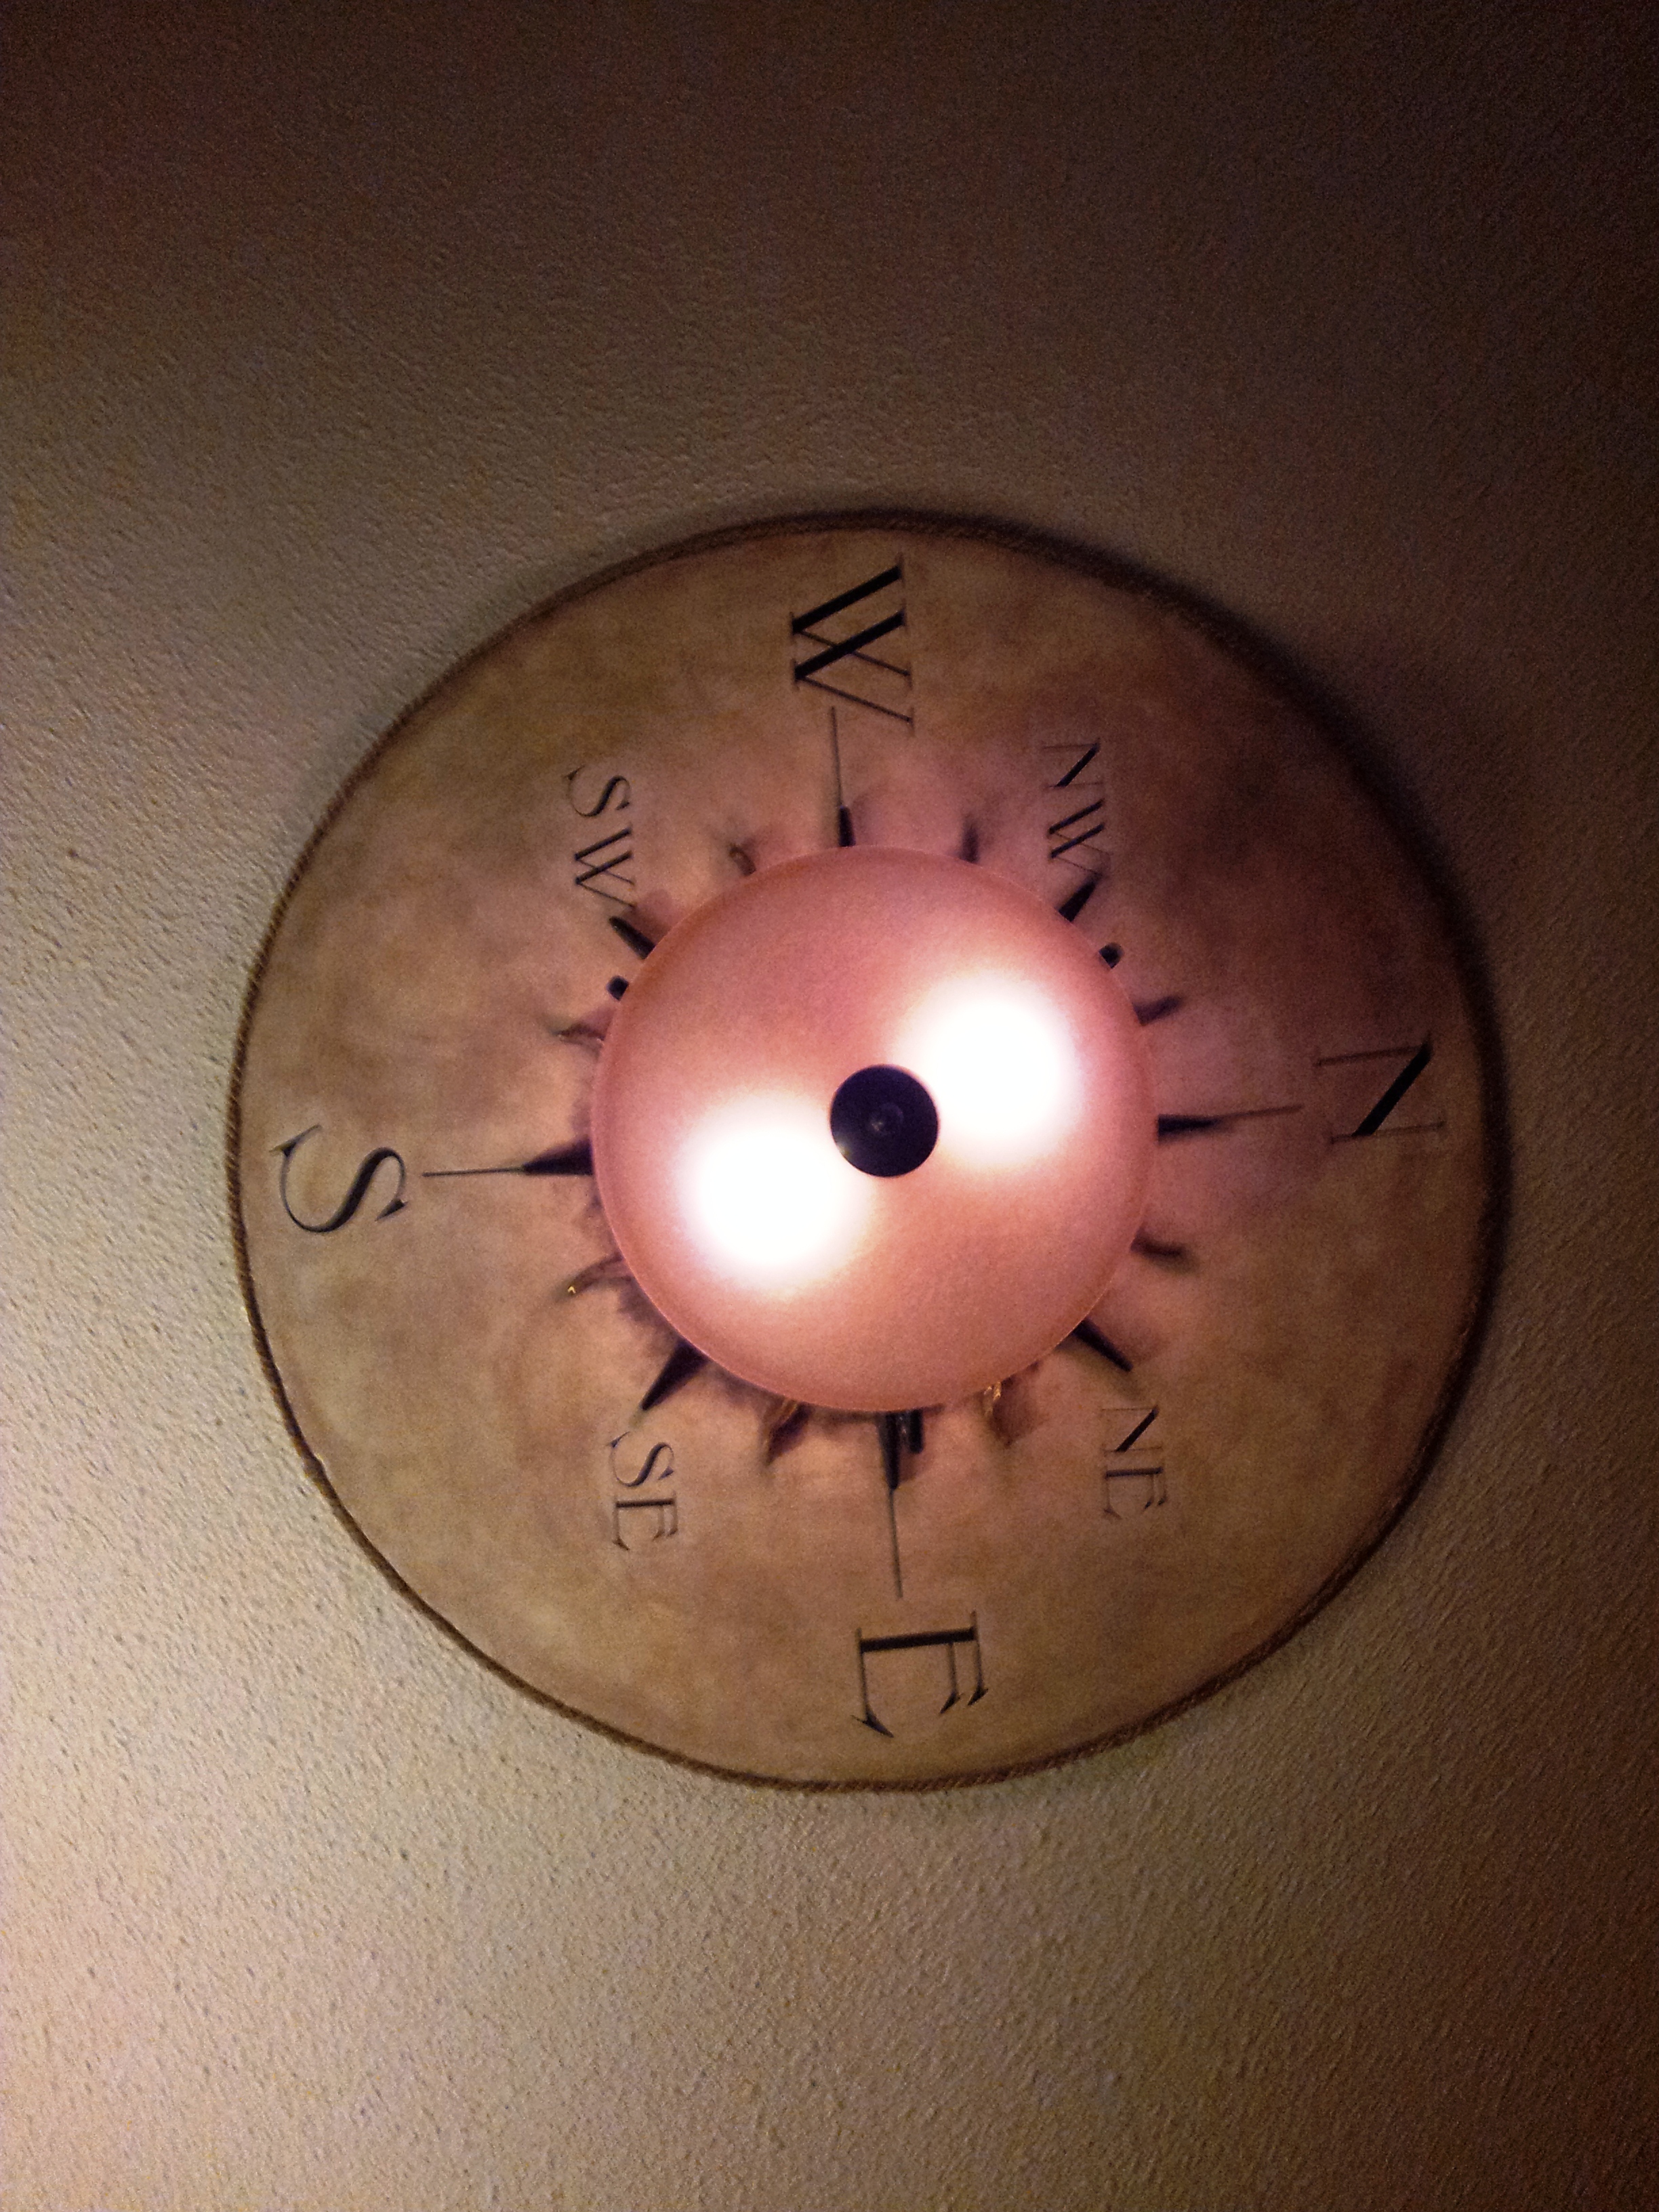
Oh lord! LOL I didn’t notice until you pointed it out. I was working on it face downward toward on a table which reverses left to right when you put it on the ceiling. : / Shhhh…. no one else has noticed yet, they just ask me if North is correct! : )